
Adding sessions by hand
Scans find Claude Code, Codex and Cowork sessions on their own. Claude Desktop chats are the exception: they live on claude.ai, not on your Mac, so Hoku can only know about a chat you add yourself. You can also add any Claude Code or Codex session by ID.
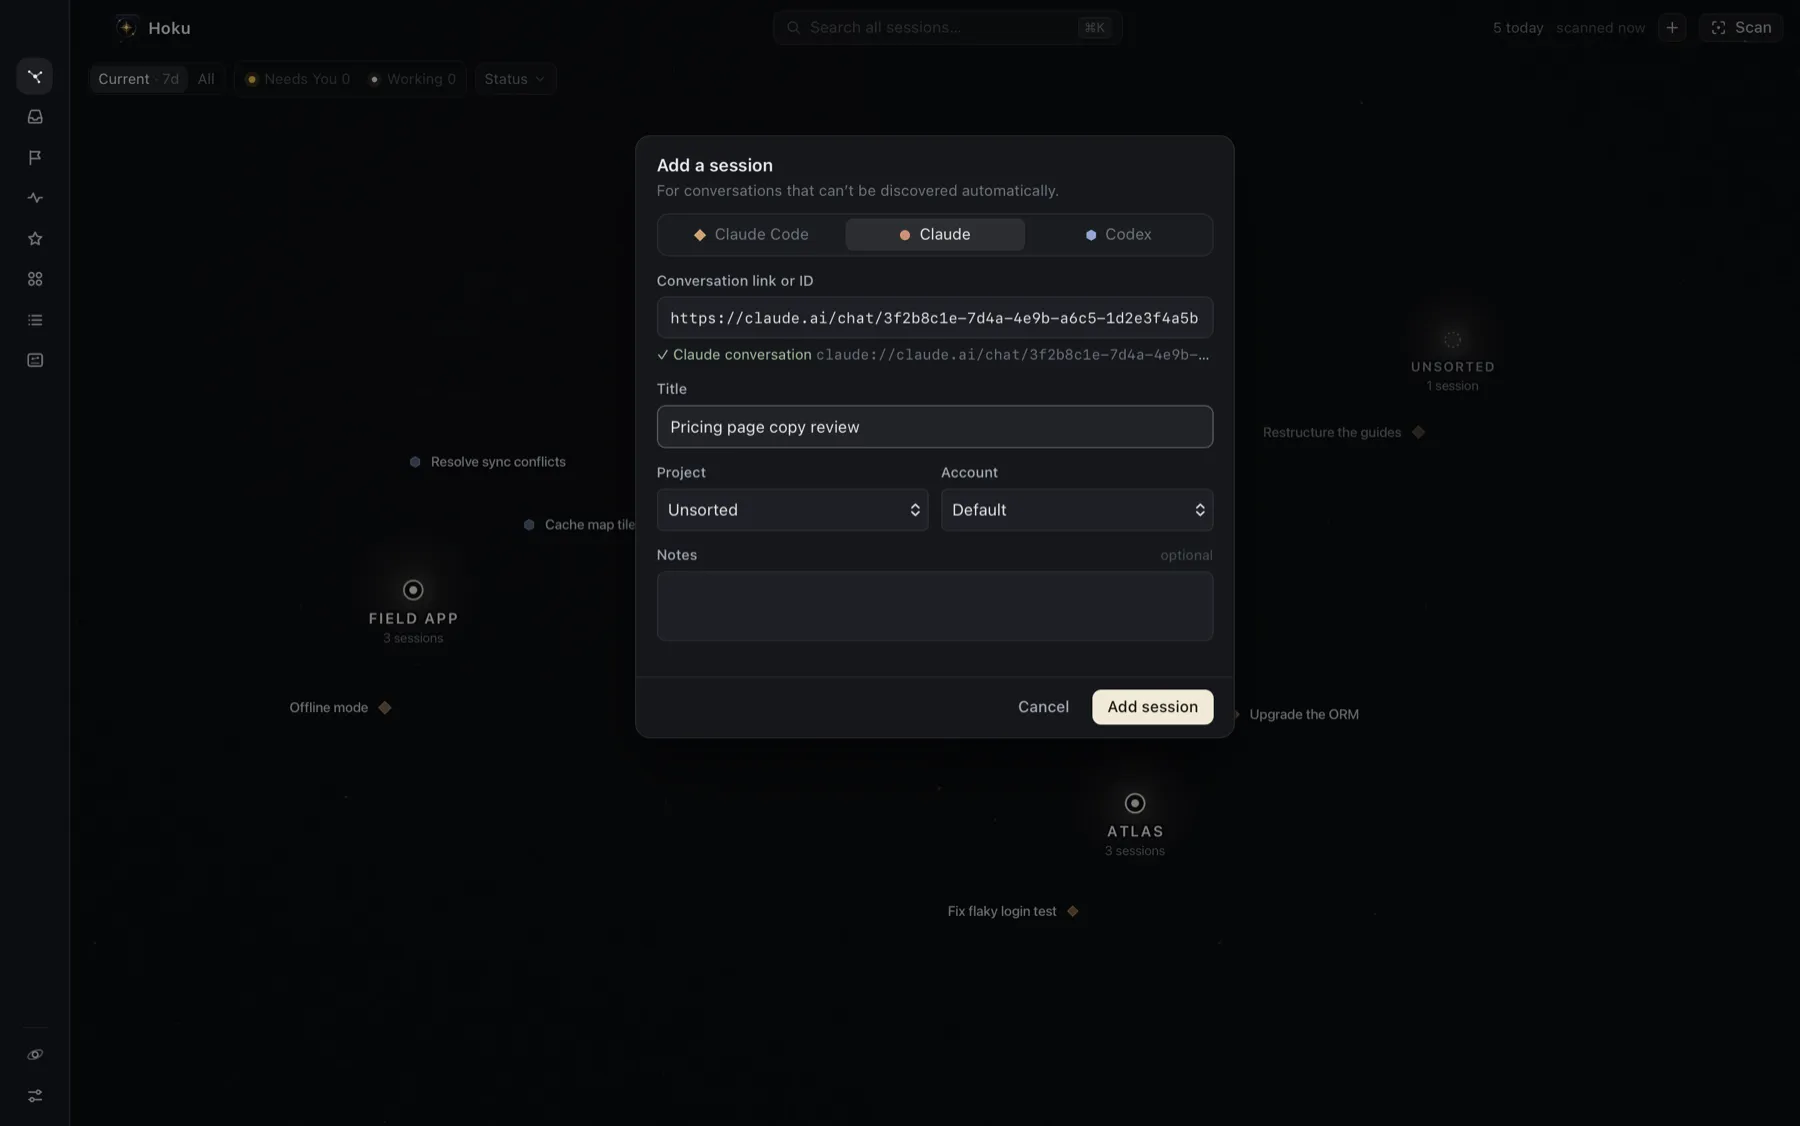
Open it: the + in the top bar, ⌘N, Add session manually on the first screen, or in ⌘K. If you’re inside a project, the session goes into that project by default.
-
Pick the provider: Claude Code, Claude or Codex.
-
Paste the reference. Hoku checks it as you type and shows a green check when it recognizes it:
Provider Accepts Claude (Desktop chats) a web link https://claude.ai/chat/…, aclaude://link, or the chat’s IDCodex a thread ID, or a codex://threads/…linkClaude Code a session ID, or a whole claude --resume <id>command -
Give it a Title. Claude chat titles live on claude.ai, so Hoku can’t read them.
-
For Claude Code, enter the Working directory. That’s where it will be resumed.
-
Optionally choose a Project, an Account label and Notes, then click Add session.
Hoku shows the new session on the map with its inspector open. A chat you add keeps working like any other session: search, favorites, follow-ups, notes, Resume. Chats have no live state, so they’re always Unknown and never appear in Needs You.
To get a chat’s link in Claude Desktop or on claude.ai, open the chat and copy the address from the browser, or use Claude’s share or copy-link options.
If you add a session that you had forgotten, it comes back, and scans stop leaving it out.